Mastering Infrared Photography: Tips and Tricks
GoogleAds
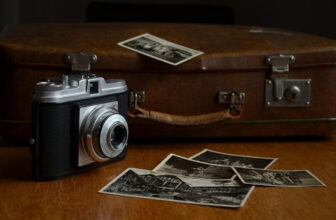
In the world of photography, mastering the art of infrared photography can open up a whole new realm of artistic possibilities. By harnessing the invisible spectrum of light, photographers can capture surreal and dream-like images that are impossible to achieve with traditional techniques. In this article, we will explore the tips and tricks that will help you unlock the full potential of infrared photography and elevate your work to new heights. So grab your camera, adjust your settings, and join us on this journey through the mesmerizing world of infrared photography.
Understanding Infrared Photography
When it comes to mastering infrared photography, there are some key tips and tricks that every photographer should know. One of the most important things to understand is that infrared photography involves capturing light that is not visible to the human eye. This can lead to stunning and otherworldly images that are unlike anything you’ve ever seen before.
One of the first things to consider when delving into infrared photography is choosing the right equipment. Not all cameras are capable of capturing infrared light, so it’s important to either modify your current camera or invest in a camera specifically designed for infrared photography. Some popular camera choices for infrared photography include the Canon EOS 5D Mark IV and the Nikon D850.
Another important aspect of mastering infrared photography is understanding how different objects will appear in your images. Infrared light reacts differently to various surfaces, so it’s essential to experiment with different subjects to see how they will be represented in your photos. For example, foliage will appear bright white in infrared images, while skies will often appear dark and dramatic.
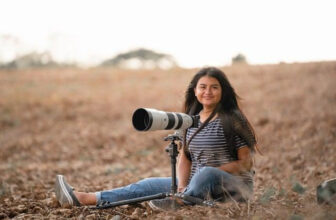
One technique that can help enhance your infrared photography is using a tripod to capture long exposure shots. Because infrared light can be harder to capture than visible light, using a tripod can help ensure that your images are sharp and free from camera shake. Additionally, using a remote shutter release can further reduce any potential blurriness in your photos.
Overall, mastering infrared photography requires patience, experimentation, and a willingness to think outside the box. By understanding the unique properties of infrared light and utilizing the right equipment and techniques, you can create breathtaking images that will captivate viewers and set your work apart from the rest.
Choosing the Right Equipment
When it comes to mastering infrared photography, is crucial. Infrared photography relies on specialized gear to capture the unique light wavelengths invisible to the human eye. Here are some tips and tricks to help you select the perfect equipment for your infrared photography journey.
Camera: Look for a camera that has been modified for infrared photography or can easily be modified. Many photographers opt for older DSLR cameras, as they tend to be more affordable and easier to convert for infrared use.
Lens: A good quality lens is essential for capturing sharp and detailed infrared images. Look for lenses that are known for their optical clarity and minimal distortion. Consider investing in a prime lens with a wide aperture for stunning infrared portraits.
Filters: Infrared filters are a crucial component of infrared photography. There are various types of filters available, each producing different effects. Experiment with different filters to find the one that best suits your creative vision.
Tripod: Since infrared photography often requires long exposure times, a sturdy tripod is essential to ensure sharp, blur-free images. Look for a tripod that is lightweight yet durable, making it easy to transport to different shooting locations.
| Equipment | Recommended Brand |
|---|---|
| Camera | Canon EOS 5D Mark IV |
| Lens | Nikon AF-S NIKKOR 50mm f/1.8G |
Mastering White Balance Settings
Infrared photography is a fascinating genre that captures light not visible to the human eye, creating surreal and dreamlike images. One crucial aspect of mastering infrared photography is understanding and utilizing white balance settings effectively.
**White Balance Presets:** Most digital cameras come with pre-set white balance options such as daylight, cloudy, tungsten, fluorescent, and flash. Experimenting with these presets can have a significant impact on the tones and colors in your infrared images. For example, setting the white balance to cloudy can enhance the red tones in your photos, while using the fluorescent setting can produce cooler, bluish hues.
**Custom White Balance:** For more accurate color representation in your infrared images, consider creating a custom white balance setting. This involves photographing a white or neutral gray card in the lighting conditions you will be shooting in and using it as a reference point for your camera’s white balance. This method helps maintain consistent colors across your infrared photographs.
**Kelvin Temperature:** Another way to adjust white balance in infrared photography is by manually setting the Kelvin temperature. By fine-tuning the color temperature, you can achieve the desired mood and aesthetic in your images. Lower Kelvin temperatures (around 2000-4000K) can result in warmer, redder tones, while higher temperatures (7000K and above) can produce cooler, bluer hues.
**White Balance Shift:** Some cameras allow you to adjust the white balance shift, which controls the fine balance of colors in your images. This feature can be particularly useful in infrared photography to achieve the desired color cast or tint. Experiment with shifting the white balance towards magenta or green to create unique and creative effects in your infrared photos.
**Post-Processing:** While getting the white balance right in-camera is essential, post-processing software like Adobe Lightroom or Photoshop can also help fine-tune the colors in your infrared images. Adjusting the white balance, tint, and saturation can further enhance the surreal and otherworldly feel of your infrared photographs. Experiment with different editing techniques to bring out the full potential of your infrared captures.
Composition Techniques for Infrared Photography
Mastering Infrared Photography: Tips and Tricks
When it comes to capturing stunning infrared photographs, composition is key. By utilizing specific techniques, you can create visually striking images that stand out from the crowd. Here are some composition tips to help you master the art of infrared photography:
1. Mind Your Shadows
Shadows play a crucial role in infrared photography, as they can appear dramatically different compared to visible light. Incorporate interesting shadow patterns into your composition to add depth and texture to your photos. Experiment with different angles to see how shadows interact with your subject.
2. Use Leading Lines
Leading lines are a powerful compositional tool that can guide the viewer’s eye through your photograph. Look for natural lines in your environment, such as roads, fences, or rivers, and use them to lead the viewer towards your main subject. This technique can create a sense of movement and flow in your images.
3. Frame Your Subjects
Consider using natural frames within your composition to draw attention to your subject. Overhanging branches, doorways, or arches can create a sense of depth and add visual interest to your photos. Experiment with different framing techniques to see which works best for your infrared photography.
4. Experiment with Symmetry
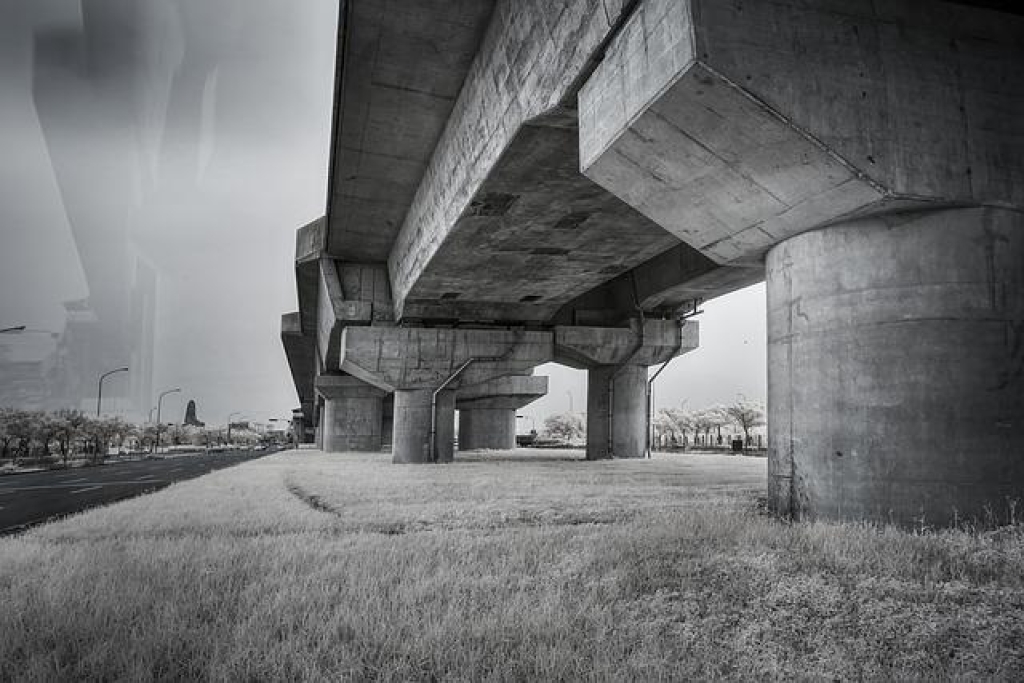
Symmetry can add a sense of balance and harmony to your infrared photographs. Look for symmetrical elements in your environment, such as buildings, bridges, or reflections, and use them to create visually striking compositions. Symmetry can create a sense of order and stability in your images.
5. Play with Textures
Textures can add depth and dimension to your infrared photographs. Look for interesting textures, such as rough stone walls, smooth water surfaces, or fluffy clouds, and incorporate them into your composition. Experiment with different textures to create visually dynamic images that capture the viewer’s attention.

Post-Processing Tips for Infrared Images
Once you have captured stunning infrared images, it’s time to enhance them through post-processing. Here are some tips to help you master the art of editing your infrared photos:
- Adjust White Balance: Infrared images often have a red or magenta tint due to the camera sensor’s sensitivity. Correct this by adjusting the white balance to achieve more natural-looking colors.
- Boost Contrast: Enhance the dramatic effect of your infrared photos by increasing the contrast. This will make the whites appear brighter and the blacks deeper, resulting in a more striking image.
- Experiment with Channel Swapping: Channel swapping is a popular technique in infrared photography that involves swapping the red and blue channels to create unique color effects. Play around with different combinations to find the look that best suits your image.
Additionally, consider using selective editing tools like masks and brushes to fine-tune specific areas of your infrared photos. This allows you to highlight key elements or make subtle adjustments without affecting the entire image.
| Setting | Value |
|---|---|
| Temperature | 5000K |
| Contrast | +20 |
| Channel Swap | Red-Blue |
Don’t be afraid to experiment with different editing techniques to find your signature style in infrared photography. Whether you prefer a more surreal look or a natural finish, post-processing allows you to bring out the best in your images.
- Final Touches: Once you are satisfied with your edits, make sure to apply the final touches to sharpen details, reduce noise, and optimize the overall quality of your infrared photos.

Creative Applications of Infrared Photography
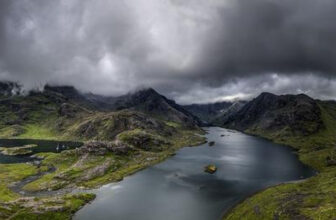
When it comes to mastering infrared photography, there are endless creative possibilities to explore. One key tip is to experiment with different subjects to see how they interact with infrared light. From landscapes to portraits, the unique color palette of infrared photography can drastically transform the mood and feel of your images.
Another important factor to consider is the time of day you shoot. Infrared photography is highly dependent on the lighting conditions, so playing around with different times of day can lead to striking results. Early morning and late afternoon tend to be ideal times for capturing the subtle nuances of infrared light.
Composition is crucial in any form of photography, but it takes on a whole new level of importance in infrared photography. Pay attention to lines, shapes, and textures in your frame, as they will be accentuated in unexpected ways when captured in infrared.
Don’t be afraid to experiment with post-processing techniques to further enhance the surreal beauty of your infrared images. From adjusting contrast and saturation to adding creative filters, there are endless ways to elevate your photos and make them truly stand out.
Lastly, remember that practice makes perfect. The more you experiment with infrared photography, the better you’ll become at understanding its quirks and capturing its magic. So grab your camera, head out into the world, and let your creativity soar with the endless possibilities of infrared photography.

Troubleshooting Common Infrared Photography Challenges
One common challenge in infrared photography is achieving proper focus. Since infrared light focuses differently than visible light, it’s important to adjust your focus manually. Use the live view mode on your camera to zoom in on a specific area and adjust the focus until it appears sharp. Additionally, consider using a wide aperture to help compensate for any focus issues.
Another challenge photographers face is white balance. Infrared images tend to have a reddish or pinkish hue, so adjusting the white balance is crucial. Experiment with different white balance settings or consider shooting in RAW format to have more control over the colors in post-processing. You can also use a custom white balance card to achieve more accurate colors.
Hot spots, or bright areas in the image, can also be a common issue in infrared photography. To reduce hot spots, avoid shooting in direct sunlight or use a lens hood to minimize lens flare. Additionally, consider using an infrared filter to help balance the exposure across the frame.
When shooting landscapes in infrared, it’s important to pay attention to the foliage. Leaves and grass tend to reflect a lot of infrared light, resulting in bright, blown-out areas in the image. To avoid this, try shooting during the golden hours when the light is softer, or experiment with different angles to minimize the reflection of infrared light off the foliage.
| Challenge | Solution |
|---|---|
| Focus | Adjust focus manually and use a wide aperture |
| White Balance | Experiment with different settings or shoot in RAW format |
| Hot Spots | Avoid direct sunlight and use an infrared filter |
| Foliage | Shoot during golden hours or change angles to minimize reflection |
Q&A
Q: What is infrared photography and how does it differ from traditional photography?
A: Infrared photography involves capturing light that is not visible to the human eye, making for unique and surreal images. It differs from traditional photography in that it requires the use of special equipment, such as infrared filters or converted cameras.
Q: What are some tips for mastering infrared photography?
A: Some tips for mastering infrared photography include experimenting with different filters to achieve different effects, shooting in bright sunlight for optimal results, and adjusting white balance settings to enhance contrast in your images.
Q: What are some common mistakes to avoid when shooting infrared photography?
A: Common mistakes to avoid when shooting infrared photography include forgetting to set a custom white balance, relying too heavily on post-processing to achieve desired effects, and using incorrect exposure settings.
Q: What are some post-processing techniques that can enhance infrared photographs?
A: Post-processing techniques that can enhance infrared photographs include adjusting contrast and clarity to bring out details, enhancing color channels to achieve certain effects, and experimenting with black and white conversions for a timeless look.
Q: How can infrared photography be used creatively in various genres of photography?
A: Infrared photography can be used creatively in various genres of photography, such as landscape photography to capture stunning and surreal landscapes, portrait photography for a dreamy and ethereal look, and architectural photography to highlight unique details and textures.
Final Thoughts
In conclusion, mastering infrared photography can be a rewarding and creative endeavor for photographers looking to explore a unique and surreal visual style. By understanding the technical aspects of infrared photography and implementing the tips and tricks outlined in this article, photographers can elevate their work to new artistic heights. With practice and experimentation, photographers can unlock the full potential of infrared photography and create captivating and unforgettable images. So grab your camera, embrace the world of infrared photography, and start capturing the unseen beauty that lies beyond the visible spectrum.
GoogleAds